
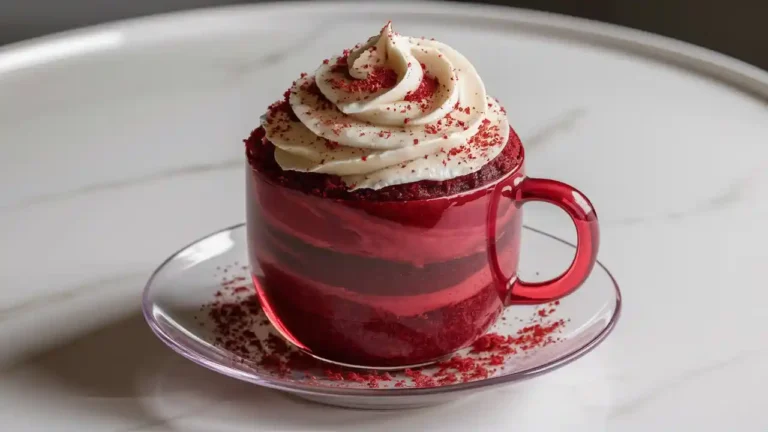
Craving something sweet but don’t have time for a full dessert? This 5 Minute Red Velvet Mug Cake is your ultimate solution! Perfectly moist, rich with a hint of cocoa, and ready in no time, it’s the ideal treat for when you want a quick, single-serve indulgence.
Whether you’re satisfying late-night cravings or surprising a loved one with a homemade dessert, this mug cake checks all the boxes—fast, simple, and utterly delicious. Plus, with just a handful of pantry staples, you can enjoy the iconic red velvet flavor without the hassle of baking an entire cake.
How to Make a Red Velvet Mug Cake
Making a Red Velvet Mug Cake is easier than you think! In just five minutes, you can enjoy a warm, decadent dessert that feels like it came from your favorite bakery. Follow these simple steps to create a perfectly moist and flavorful cake right in your microwave:
- Prepare Your Mug:
- Choose a microwave-safe mug that holds at least 12 ounces to avoid overflow.
- Lightly grease the inside with a bit of butter or non-stick spray for easy cleanup.
- Mix the Dry Ingredients:
- In the mug, combine 4 tablespoons of all-purpose flour, 2 tablespoons of granulated sugar, 1 teaspoon of unsweetened cocoa powder, and a pinch of baking soda.
- Stir well to ensure there are no lumps—this helps the cake cook evenly.
- Add the Wet Ingredients:
- Stir in 3 tablespoons of milk (or buttermilk for extra tang), 1 tablespoon of vegetable oil, a splash of vanilla extract, and 1-2 drops of red food coloring.
- Mix until the batter is smooth and has that iconic red velvet hue.
- Microwave the Cake:
- Place the mug in the microwave and cook on high for 60-90 seconds. Start with 60 seconds and check—if the cake is still gooey on top, heat in 10-second increments.
- Avoid overcooking; the cake should be set but still moist.
- Cool and Enjoy:
- Let the mug cake cool for 1-2 minutes before digging in. The cake will be hot, and this short wait allows the flavors to settle.
- Top with whipped cream, cream cheese frosting, or even a scoop of ice cream for a luxurious finish.
And that’s it! A warm, decadent Red Velvet Mug Cake made from scratch in just minutes. It’s the perfect dessert for busy days, late-night cravings, or anytime you need a sweet pick-me-up.
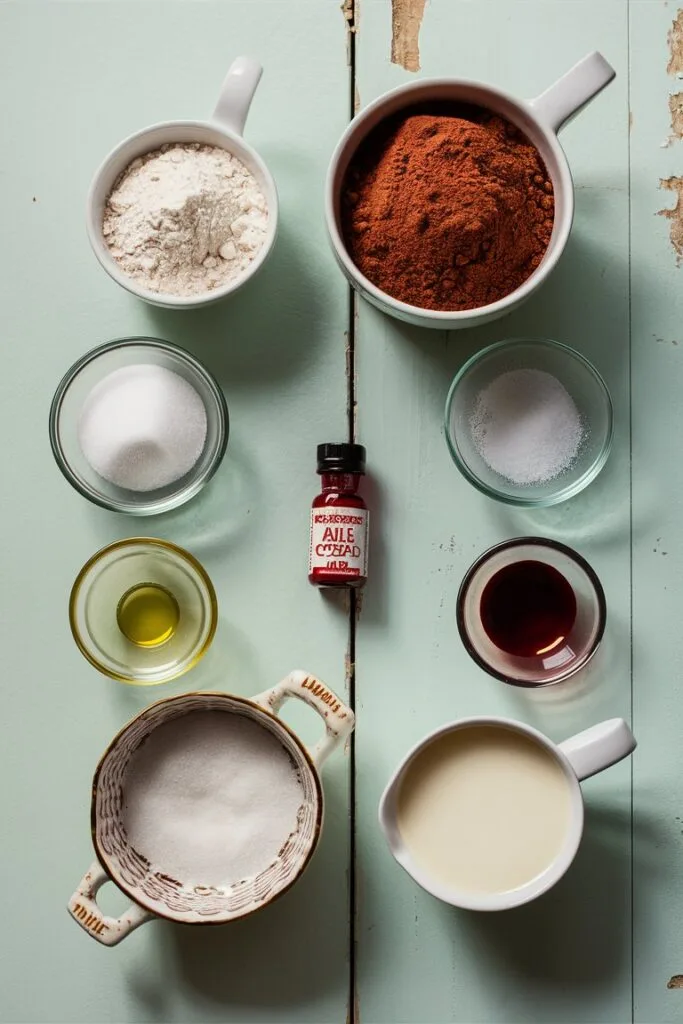
Ingredients for the Perfect Red Velvet Mug Cake
Gathering your ingredients is quick and easy, with most items likely already in your pantry. Here’s what you’ll need to whip up your Red Velvet Mug Cake in no time:
Dry Ingredients:
- 4 tablespoons all-purpose flour – The base for your soft and fluffy cake.
- 2 tablespoons granulated sugar – Adds just the right amount of sweetness.
- 1 teaspoon unsweetened cocoa powder – For that signature red velvet flavor with a hint of chocolate.
- 1/8 teaspoon baking soda – Helps the cake rise beautifully in the microwave.
- Pinch of salt – Enhances the overall flavor and balances the sweetness.
Wet Ingredients:
- 3 tablespoons milk – Whole milk or buttermilk works best for a moist texture, but any milk will do.
- 1 tablespoon vegetable oil – Keeps the cake tender and rich.
- 1/4 teaspoon vanilla extract – Adds depth and rounds out the flavors.
- 1-2 drops red food coloring – For that iconic red velvet appearance (optional but recommended).
Optional Toppings:
- Cream cheese frosting – A must-have for classic red velvet!
- Whipped cream or ice cream – Perfect for a quick and indulgent finish.
- Chocolate chips or sprinkles – Add fun and flavor to your mug cake.
Practical Tips:
- For the best results, measure your ingredients precisely, especially the flour and cocoa powder.
- If you’re out of buttermilk, create your own by adding a splash of vinegar or lemon juice to regular milk and letting it sit for a minute.
Instructions
Making this Red Velvet Mug Cake is as simple as mix, microwave, and enjoy! Follow these step-by-step instructions for a perfect, indulgent treat in minutes:
- Prepare Your Mug:
- Start with a microwave-safe mug (12 ounces or larger) to give the cake room to rise.
- Lightly grease the inside of the mug with butter or non-stick cooking spray to make cleanup easier.
- Combine the Dry Ingredients:
- In the mug, add:
- 4 tablespoons of all-purpose flour
- 2 tablespoons of granulated sugar
- 1 teaspoon of unsweetened cocoa powder
- 1/8 teaspoon of baking soda
- A pinch of salt
- Mix everything thoroughly with a small whisk or fork, ensuring there are no lumps.
- In the mug, add:
- Add the Wet Ingredients:
- Stir in the following ingredients until you get a smooth batter:
- 3 tablespoons of milk (or buttermilk for a tangier flavor)
- 1 tablespoon of vegetable oil
- 1/4 teaspoon of vanilla extract
- 1-2 drops of red food coloring (optional, but it gives the cake its signature look).
- Mix gently but thoroughly to combine the wet and dry ingredients evenly.
- Stir in the following ingredients until you get a smooth batter:
- Microwave the Cake:
- Place the mug in the microwave and cook on high for 60-90 seconds.
- Start with 60 seconds, then check to see if the top looks set. If it’s still slightly gooey, microwave in 10-second increments until done. Avoid overcooking, as it can make the cake dry.
- Let It Cool:
- Allow the cake to rest for 1-2 minutes after microwaving. This helps it finish cooking and makes it easier to enjoy without burning your tongue!
- Add Your Favorite Toppings:
- Top with cream cheese frosting for a classic red velvet finish.
- Alternatively, add a dollop of whipped cream, a drizzle of chocolate syrup, or a scoop of vanilla ice cream for extra indulgence.
- Dig In and Enjoy:
- Grab a spoon and savor your homemade Red Velvet Mug Cake! It’s the perfect quick dessert for late-night cravings or a sweet midday treat.
By following these simple instructions, you’ll have a warm, fluffy Red Velvet Mug Cake ready to enjoy in no time. Whether you’re making one for yourself or sharing the recipe with friends, it’s sure to impress!
Tips to Make the Perfect Red Velvet Mug Cake
Making a mug cake is simple, but a few thoughtful tips can take your Red Velvet Mug Cake from good to absolutely divine. Here’s how to ensure every bite is a hit:
- Choose the Right Mug:
- Use a tall, microwave-safe mug with enough room for the batter to rise. A 12-ounce mug is perfect to avoid any spillage.
- Thin-walled ceramic mugs tend to heat evenly, ensuring your cake cooks perfectly.
- Mix Thoroughly:
- When combining your dry and wet ingredients, make sure there are no streaks of flour or cocoa left in the batter. A smooth batter ensures even cooking.
- Use a small whisk or a fork for quick and efficient mixing right in the mug.
- Microwave Power Matters:
- Microwaves vary, so start by cooking your mug cake for 60 seconds and check its consistency. The cake should look set but feel slightly soft in the center.
- If it needs more time, cook in 10-second bursts to avoid overbaking, which can make the cake dry.
- Don’t Skip the Red Food Coloring:
- That signature red hue is what makes red velvet so special! If you’re out of red food coloring, you can still enjoy the flavor, but it won’t have the same visual appeal.
- Enhance the Flavor:
- A pinch of salt in the batter balances the sweetness and enhances the cocoa flavor.
- If you want a tangy, authentic red velvet taste, opt for buttermilk or add a few drops of white vinegar to regular milk.
- Get Creative with Toppings:
- Cream cheese frosting is a classic choice, but you can also try whipped cream, powdered sugar, or a drizzle of chocolate syrup.
- Feeling indulgent? Add a handful of chocolate chips or a dollop of Nutella before microwaving for a gooey center.
With these tips, your Red Velvet Mug Cake will turn out perfect every time—soft, moist, and full of that irresistible red velvet charm. Enjoy experimenting and making this quick treat truly your own!

Variations to Try with Your Red Velvet Mug Cake
One of the best things about a Red Velvet Mug Cake is how customizable it is. Whether you’re looking to switch up the flavor, accommodate dietary needs, or simply experiment with toppings, here are some creative variations to make your mug cake truly unique:
- Make It Gluten-Free:
- Swap out the all-purpose flour with a 1:1 gluten-free flour blend. Ensure it includes xanthan gum for proper texture.
- Double-check that your cocoa powder and other ingredients are certified gluten-free.
- Vegan Red Velvet Mug Cake:
- Replace the milk with almond milk, oat milk, or soy milk.
- Use coconut oil instead of vegetable oil and substitute 1 tablespoon of applesauce or mashed banana for the egg (if included in your recipe).
- Opt for plant-based whipped cream or frosting for the topping.
- Chocolate Lovers’ Upgrade:
- Stir in a tablespoon of chocolate chips or chunks for a molten chocolate center.
- Drizzle melted chocolate over the cake once it’s done for extra richness.
- Nutty Delight:
- Add a teaspoon of finely chopped walnuts, pecans, or almonds to the batter for added texture and flavor.
- Top with a dollop of peanut butter or almond butter for a nutty twist.
- Extra Tangy Red Velvet:
- Boost the classic tang by adding a splash of apple cider vinegar to the batter.
- Pair your mug cake with a generous swirl of cream cheese frosting for that perfect balance of sweet and tangy.
- Festive Flair:
- Add colorful sprinkles to the batter or on top to make your mug cake festive for holidays or celebrations.
- Try green food coloring instead of red for a St. Patrick’s Day twist!
- Low-Sugar Option:
- Use a sugar substitute like stevia, erythritol, or monk fruit sweetener in place of granulated sugar.
- For natural sweetness, try adding a small amount of mashed banana or unsweetened applesauce.
- Citrus-Inspired Red Velvet:
- Add a touch of orange or lemon zest to the batter for a bright, citrusy note.
- Pair with a light orange glaze instead of traditional frosting for a refreshing change.
With so many variations to choose from, your Red Velvet Mug Cake can be as classic or creative as you like. Experiment with these ideas, and don’t be afraid to put your own spin on this quick and easy dessert!
FAQs
Can I use a different type of flour?
Absolutely! While all-purpose flour works best, you can use whole wheat flour for a heartier texture. For a gluten-free option, try a 1:1 gluten-free baking blend.
Why did my mug cake turn out dry?
Overcooking is the most common culprit. Microwaves vary, so start with 60 seconds and check the texture. The cake should look set but feel soft in the center. Cooking in short increments helps avoid dryness.
What if I don’t have red food coloring?
No worries! The cake will still taste delicious without the red coloring—it’ll just lack the classic red velvet appearance. You can also use natural food coloring, like beet juice, for a more organic option.
Can I double the recipe?
Yes, but it’s better to make two separate mug cakes rather than doubling the batter in one mug. A larger amount of batter might not cook evenly in the microwave.
Can I make this mug cake without a microwave?
Yes! If you don’t have a microwave, you can bake the batter in an oven-safe ramekin at 350°F (175°C) for about 10-12 minutes.
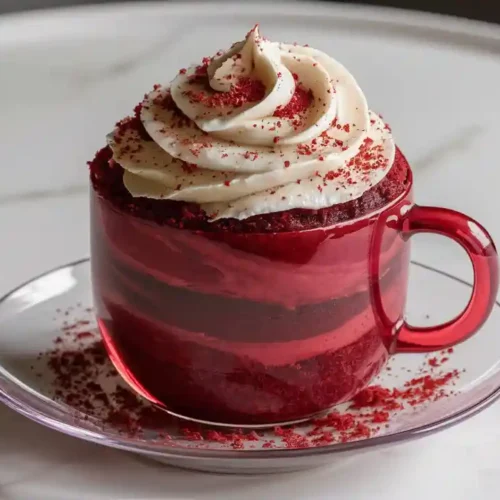
5 Minute Red Velvet Mug Cake
Ingredients
Dry Ingredients:
- 4 tablespoons all-purpose flour – The base for your soft and fluffy cake.
- 2 tablespoons granulated sugar – Adds just the right amount of sweetness.
- 1 teaspoon unsweetened cocoa powder – For that signature red velvet flavor with a hint of chocolate.
- ⅛ teaspoon baking soda – Helps the cake rise beautifully in the microwave.
- Pinch of salt – Enhances the overall flavor and balances the sweetness.
Wet Ingredients:
- 3 tablespoons milk – Whole milk or buttermilk works best for a moist texture but any milk will do.
- 1 tablespoon vegetable oil – Keeps the cake tender and rich.
- ¼ teaspoon vanilla extract – Adds depth and rounds out the flavors.
- 1-2 drops red food coloring – For that iconic red velvet appearance optional but recommended.
Optional Toppings:
- Cream cheese frosting – A must-have for classic red velvet!
- Whipped cream or ice cream – Perfect for a quick and indulgent finish.
- Chocolate chips or sprinkles – Add fun and flavor to your mug cake.
Instructions
Prepare Your Mug:
- Start with a microwave-safe mug (12 ounces or larger) to give the cake room to rise.
- Lightly grease the inside of the mug with butter or non-stick cooking spray to make cleanup easier.
- Combine the Dry Ingredients:
In the mug, add:
- 4 tablespoons of all-purpose flour
- 2 tablespoons of granulated sugar
- 1 teaspoon of unsweetened cocoa powder
- 1/8 teaspoon of baking soda
- A pinch of salt
- Mix everything thoroughly with a small whisk or fork, ensuring there are no lumps.
Add the Wet Ingredients:
- Stir in the following ingredients until you get a smooth batter:
- 3 tablespoons of milk (or buttermilk for a tangier flavor)
- 1 tablespoon of vegetable oil
- 1/4 teaspoon of vanilla extract
- 1-2 drops of red food coloring (optional, but it gives the cake its signature look).
- Mix gently but thoroughly to combine the wet and dry ingredients evenly.
Microwave the Cake:
- Place the mug in the microwave and cook on high for 60-90 seconds.
- Start with 60 seconds, then check to see if the top looks set. If it’s still slightly gooey, microwave in 10-second increments until done. Avoid overcooking, as it can make the cake dry.
Let It Cool:
- Allow the cake to rest for 1-2 minutes after microwaving. This helps it finish cooking and makes it easier to enjoy without burning your tongue!
- Add Your Favorite Toppings:
- Top with cream cheese frosting for a classic red velvet finish.
- Alternatively, add a dollop of whipped cream, a drizzle of chocolate syrup, or a scoop of vanilla ice cream for extra indulgence.
Dig In and Enjoy:
- Grab a spoon and savor your homemade Red Velvet Mug Cake! It’s the perfect quick dessert for late-night cravings or a sweet midday treat.