You know that feeling when you discover a recipe that changes your life? Well, let me tell you about my latest obsession: No Bake Low-FODMAP Energy Bars! I’ve made this recipe countless times, and each batch has been an absolute hit. It’s my go-to snack when I need a quick boost of energy, and trust me, once you try them, you’ll understand why they’ve become so popular among my friends and family. These bars are not just delicious; they’re packed with superfoods, making them the perfect guilt-free treat for busy days.
Why You’ll Love This No Bake Low-FODMAP Energy Bars
- Easy to Make: No baking required! Just mix, press, and chill.
- Nutritious Ingredients: Packed with superfoods, these bars provide energy while being low in FODMAPs.
- Versatile Flavor Options: Customize with your favorite nuts, seeds, or dried fruits.
- Perfect for Meal Prep: Make a batch ahead of time for a week’s worth of snacks.
- Visually Appealing: These bars are as pretty as they are tasty, perfect for sharing on social media!
The Secret to Perfect No Bake Low-FODMAP Energy Bars
The secret to making these bars truly stand out is in the balance of flavors and textures. Using a combination of oats, nut butter, and a sweetener like maple syrup or honey creates a chewy and satisfying base. I’ve found that letting the mixture chill in the fridge is crucial; it firms up beautifully and ensures that the bars hold together perfectly.
My insider tip? Don’t rush the chilling process! Trust me, the longer they chill, the easier they are to cut, and the flavors have more time to meld. You can even prepare these the night before and wake up to a deliciously energizing breakfast option!
Rave Reviews from Friends and Followers
“These energy bars are a game-changer! I can’t believe how easy they are to make, and they taste amazing! My kids love them too!” — Sarah M.
“I’m always on the go, and these bars have become my lifesaver! I’ve made them multiple times, and they never disappoint!” — Jason L.
“Finally, a snack that fits my dietary needs without sacrificing flavor! I’ve shared them with my friends, and they can’t get enough!” — Emily R.
Creative Variations to Try
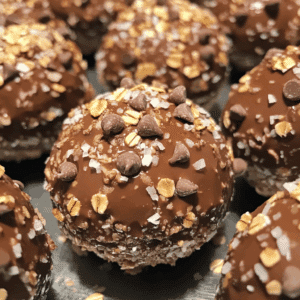
- Chocolate Chip Delight: Add dairy-free chocolate chips for a sweet treat.
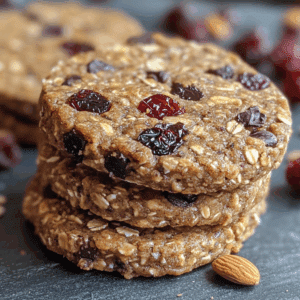
- Berry Bliss: Incorporate dried cranberries or blueberries for a fruity twist.
- Nutty Banana: Mash up a ripe banana and mix it in for extra moisture and sweetness.
- Spicy Cinnamon: Add a dash of cinnamon and a sprinkle of nutmeg for a warm flavor profile.
- Bonus: Drizzle with melted dark chocolate for a decadent finish.
FAQs – All Your Questions Answered!
Can I use a different nut butter? Absolutely! Almond, cashew, or sunflower seed butter all work great.
How long do these bars last? They can be stored in an airtight container in the fridge for up to a week.
Can I freeze them? Yes! These bars freeze well. Just wrap them individually and they’ll last for up to a month in the freezer.
What if my mixture is too crumbly? If it feels dry, try adding a bit more nut butter or a splash of water until it holds together better.
Storage/Serving Tips
- Store in an airtight container in the fridge for optimal freshness.
- For longer storage, wrap each bar in parchment paper before placing them in a container.
- These bars are perfect for on-the-go snacking or as a post-workout treat!
Perfect Occasions for No Bake Low-FODMAP Energy Bars
- Busy weekday breakfasts when you’re running out the door.
- After-school snacks for hungry kids.
- Pre-workout fuel to keep your energy levels high.
- Healthy treats for lunchboxes or picnics.
- Last-minute snacks for movie nights with friends!
The Complete Recipe
Thanks for sticking with me! Now, let’s dive into the actual recipe so you can start making these delicious No Bake Low-FODMAP Energy Bars!
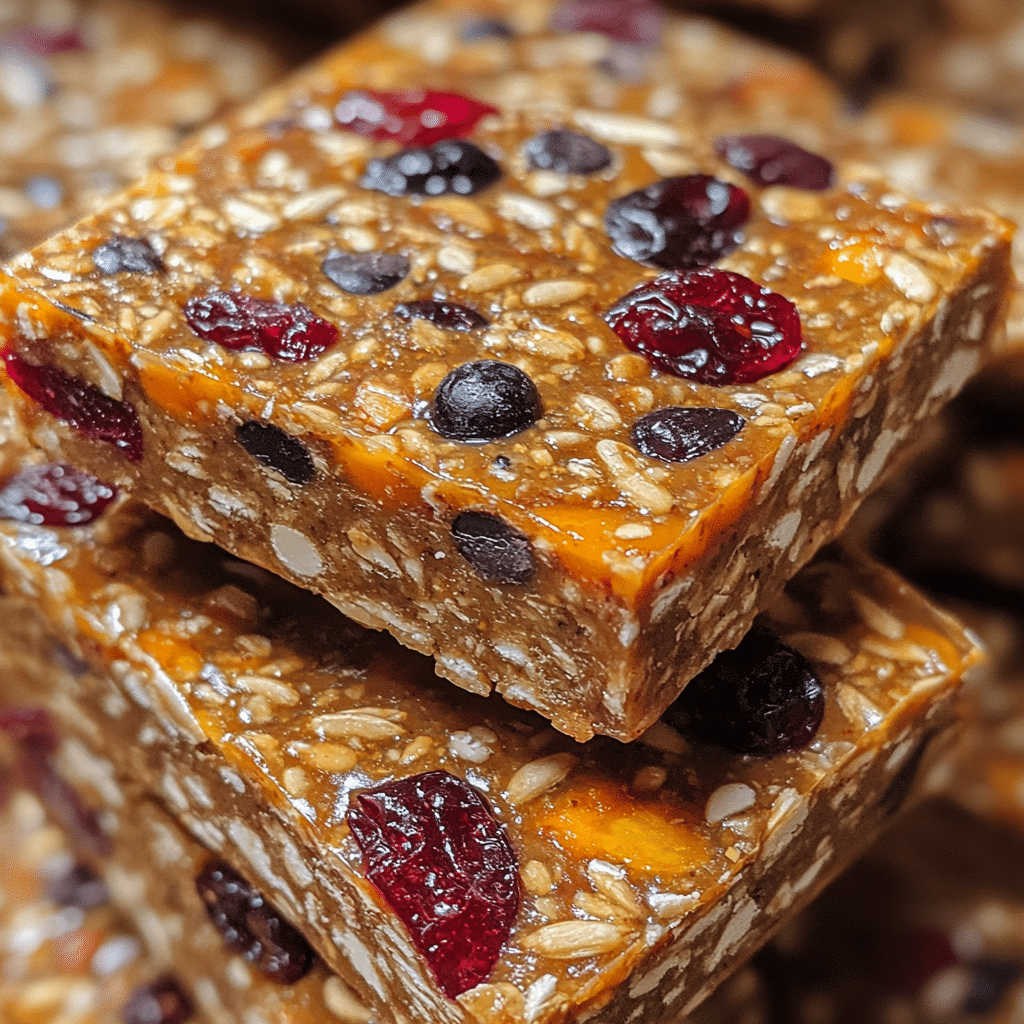
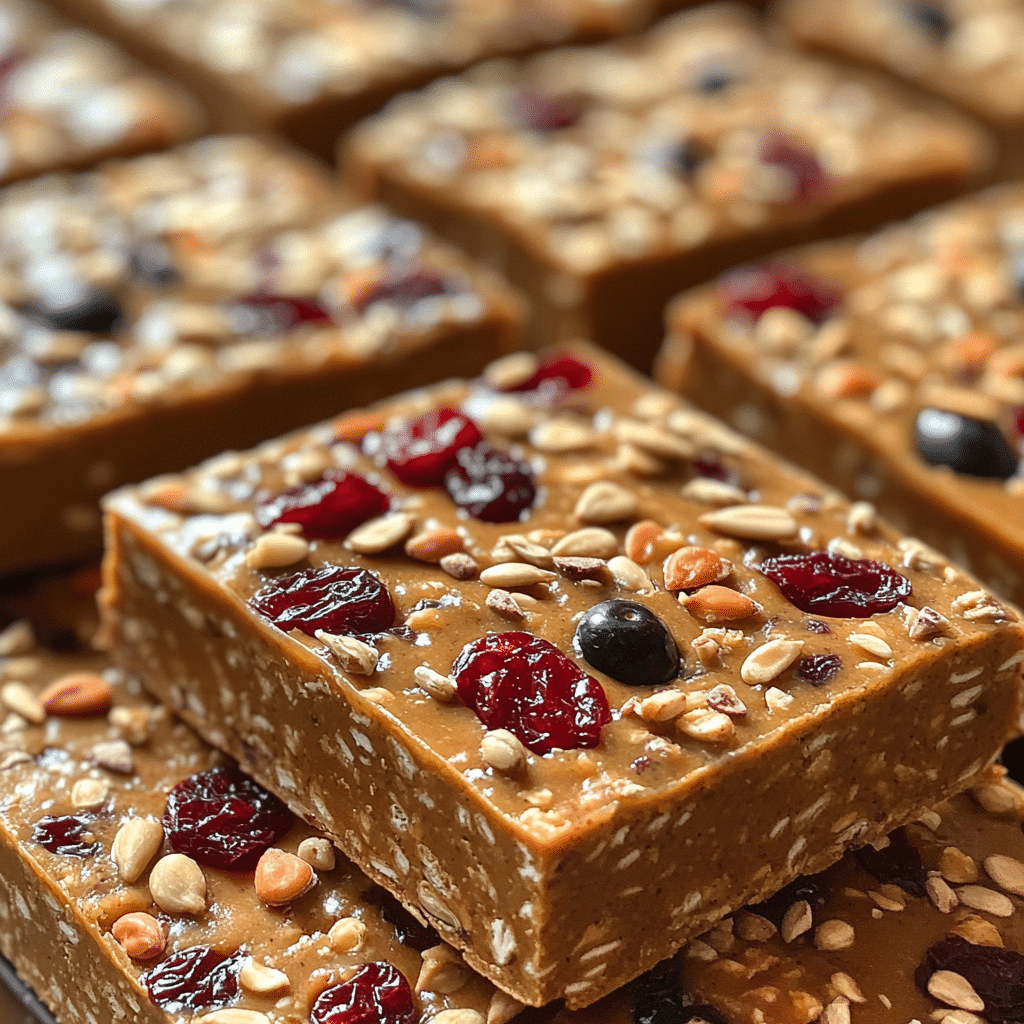
No Bake Low-FODMAP Energy Bars
Ingredients
- 2 cups gluten-free rolled oats
- 1 cup natural nut butter (like almond or peanut butter)
- 1/2 cup maple syrup or honey
- 1/2 cup mixed seeds (pumpkin, sunflower)
- 1/3 cup dried fruits (cranberries, blueberries)
- 1/2 tsp vanilla extract
- Tip: Adjust the sweetness by adding more or less maple syrup to suit your taste.
Optional Add-Ins:
- 1/4 cup chocolate chips for a sweet touch.
- 1 banana for added moisture and natural sweetness.
- 1 tsp cinnamon for a warm flavor.
Step-by-Step Instructions
Step 1: Combine Dry Ingredients
In a large mixing bowl, combine the gluten-free rolled oats, mixed seeds, and dried fruits. This is where you’ll create the base of your bars. The combination of ingredients adds a delightful crunch and a burst of flavor in every bite!
Step 2: Mix Wet Ingredients
In a separate bowl, mix the nut butter, maple syrup (or honey), and vanilla extract until smooth. This mixture is what binds everything together, so make sure it’s well-combined. You want it to be creamy and delicious!
Step 3: Combine Wet and Dry Ingredients
Pour the wet mixture into the dry ingredients and stir until everything is evenly coated. The mixture should be sticky but not too wet. If it feels too dry, you can add a splash of water or a little more nut butter to help it come together.
Step 4: Press into a Pan
Line an 8×8 inch baking dish with parchment paper for easy removal. Pour the mixture into the dish and press it down evenly. Use a spatula or your hands to really pack it down; this will help the bars hold their shape once chilled.
Step 5: Chill and Cut
Place the dish in the refrigerator for at least 1-2 hours to allow the bars to set. Once firm, remove from the pan and cut into squares or bars. Enjoy that satisfying moment when you cut through the perfectly set mixture!
Nutrition Info: Each bar contains approximately 150 calories, 6 grams of protein, and 4 grams of fiber, making them a fantastic option for a healthy snack on the go!
Final Thoughts
These No Bake Low-FODMAP Energy Bars are truly special. They are not only easy to make but also customizable, nutritious, and oh-so-tasty! Whether you need a quick breakfast, a midday pick-me-up, or a post-workout snack, these bars have got you covered. So what are you waiting for? Grab your ingredients, and let’s make some magic happen in the kitchen! You’ll love how simple it is to whip up a batch, and I can’t wait for you to share your own creations with everyone!