Oh my goodness, let me tell you about the first time I made these No-Bake Chocolate Chip Cookie Dough Bars! I was just trying to whip up a quick treat for a get-together with friends, and I ended up creating something truly magical. I can’t even count how many times I’ve made these since that day—every time, they disappear faster than I can put them out on the table! If you’re looking for a sweet treat that’s easy, delicious, and completely drool-worthy, trust me when I say these bars are a game-changer. You’ll want to keep this recipe close to your heart!
Why You’ll Love This No-Bake Chocolate Chip Cookie Dough Bars
- No baking required: Yes, you read that right! You can make these bars without turning on the oven, saving you time and hassle.
- Easy to make: With just a handful of ingredients, you’ll have a delicious treat ready in no time.
- Irresistible flavor: The combination of creamy cookie dough and rich chocolate chips is pure bliss!
- Perfect for any occasion: Whether it’s a party, a picnic, or just a cozy night in, these bars fit right in.
- Make-ahead convenience: They store beautifully in the fridge, making them perfect for prepping ahead of time.
The Secret to Perfect No-Bake Chocolate Chip Cookie Dough Bars
The magic behind these No-Bake Chocolate Chip Cookie Dough Bars lies in the combination of high-quality ingredients and a simple technique. The key ingredient? A mix of brown sugar and creamy butter that creates the base of your cookie dough. You see, brown sugar adds that deep, caramel-like flavor that really elevates these bars from ordinary to extraordinary.
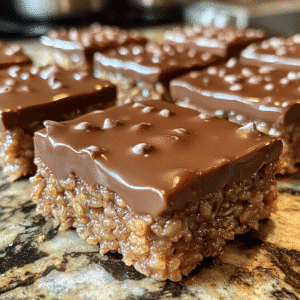
Here’s an insider tip: don’t skimp on the chocolate chips! Using a combination of semi-sweet and milk chocolate chips gives you that perfect balance of sweetness and richness. Plus, make sure to let your mixture chill in the fridge for at least an hour before cutting—this helps the bars firm up nicely, making them easy to slice and serve.
Rave Reviews from Friends and Followers
“These bars are a total showstopper! I made them for a potluck, and everyone was asking for the recipe. Thank you for sharing this gem!” – Sarah L.
“I was skeptical about no-bake desserts, but these bars blew my mind! They’re so easy to make and taste incredible. I’ll definitely be making them again!” – Mike T.
“I can’t believe how simple these No-Bake Chocolate Chip Cookie Dough Bars are! They’re now my go-to dessert for every family gathering. So good!” – Jessica F.
Creative Variations to Try
- Peanut Butter Chocolate Chip: Swirl in some creamy peanut butter for a nutty twist.
- Oreo Cookie Dough Bars: Crumble some Oreo cookies into the dough for an extra fun flavor.
- Mint Chocolate Chip: Add a few drops of mint extract and green food coloring for a refreshing minty treat.
- Almond Joy Bars: Mix in shredded coconut and chopped almonds for a tropical vibe.
- Bonus: Drizzle melted chocolate over the top for a stunning finish that takes these bars to the next level!
FAQs – All Your Questions Answered!
Can I use a different type of flour? Yes! While all-purpose flour is recommended, you can use oat flour or almond flour for a gluten-free option.
How long can I store these bars? These No-Bake Chocolate Chip Cookie Dough Bars can be stored in an airtight container in the fridge for up to a week.
Can I freeze them? Absolutely! Just slice them first and place them in an airtight container separated by parchment paper. They can last up to three months in the freezer.
What if my mixture is too crumbly? If your dough isn’t holding together, try adding a tablespoon of milk or melted butter until it reaches the right consistency.
Can I substitute the chocolate chips? Yes! Feel free to use dark chocolate, white chocolate, or even yogurt-covered raisins for a fun twist.
Storage/Serving Tips
- Store in an airtight container in the fridge for maximum freshness.
- These bars can be cut into bite-sized pieces for easy serving at parties.
- For a fancier presentation, serve on a decorative platter with fresh fruit or a drizzle of chocolate sauce.
Perfect Occasions for No-Bake Chocolate Chip Cookie Dough Bars
- Birthday parties – make them the star of the dessert table!
- Movie nights – a sweet treat to enjoy while binge-watching your favorite series.
- Picnics – easy to pack and share with friends.
- Potluck dinners – everyone will be asking you for the recipe!
- After-school snacks – a delicious treat to surprise the kids.
- Game day parties – perfect for cheering on your favorite team!
The Complete Recipe
Thank you for joining me on this delicious journey! Now, here’s how to make your very own No-Bake Chocolate Chip Cookie Dough Bars.
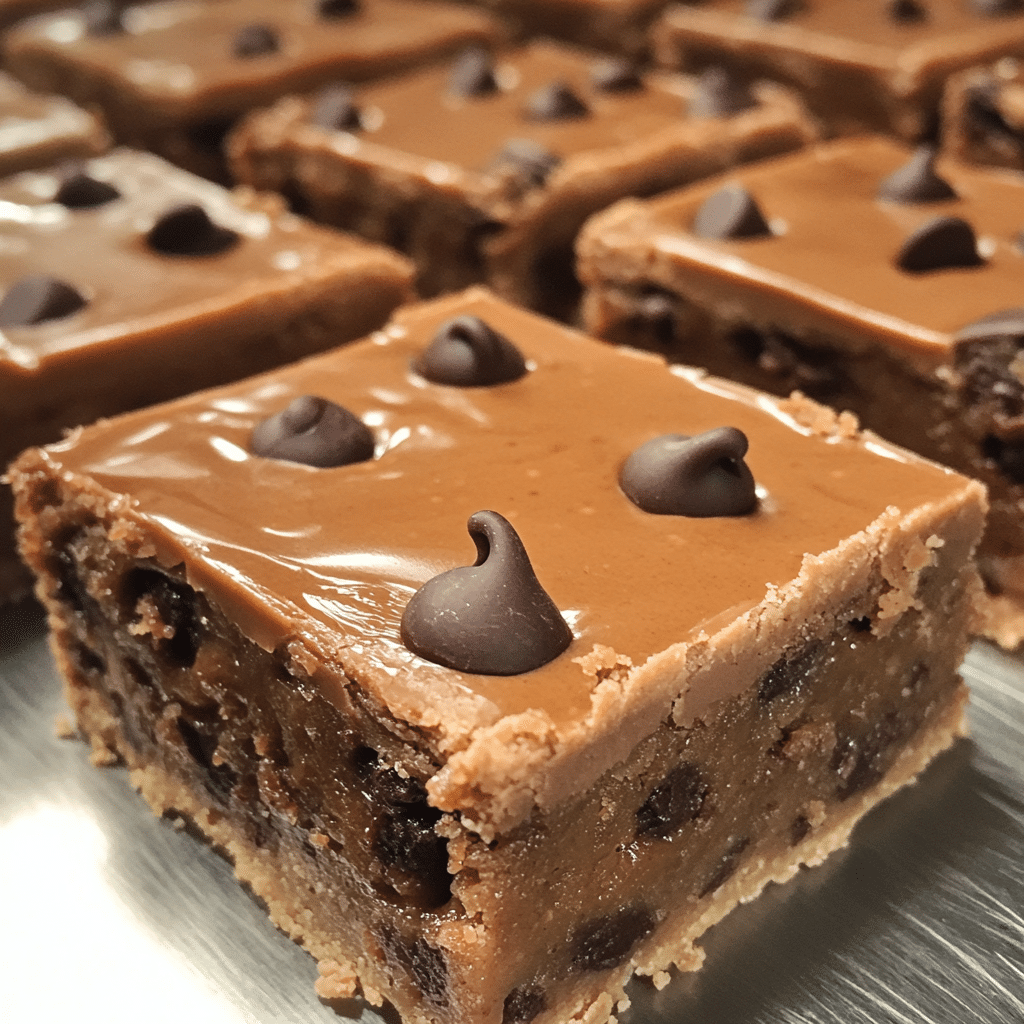
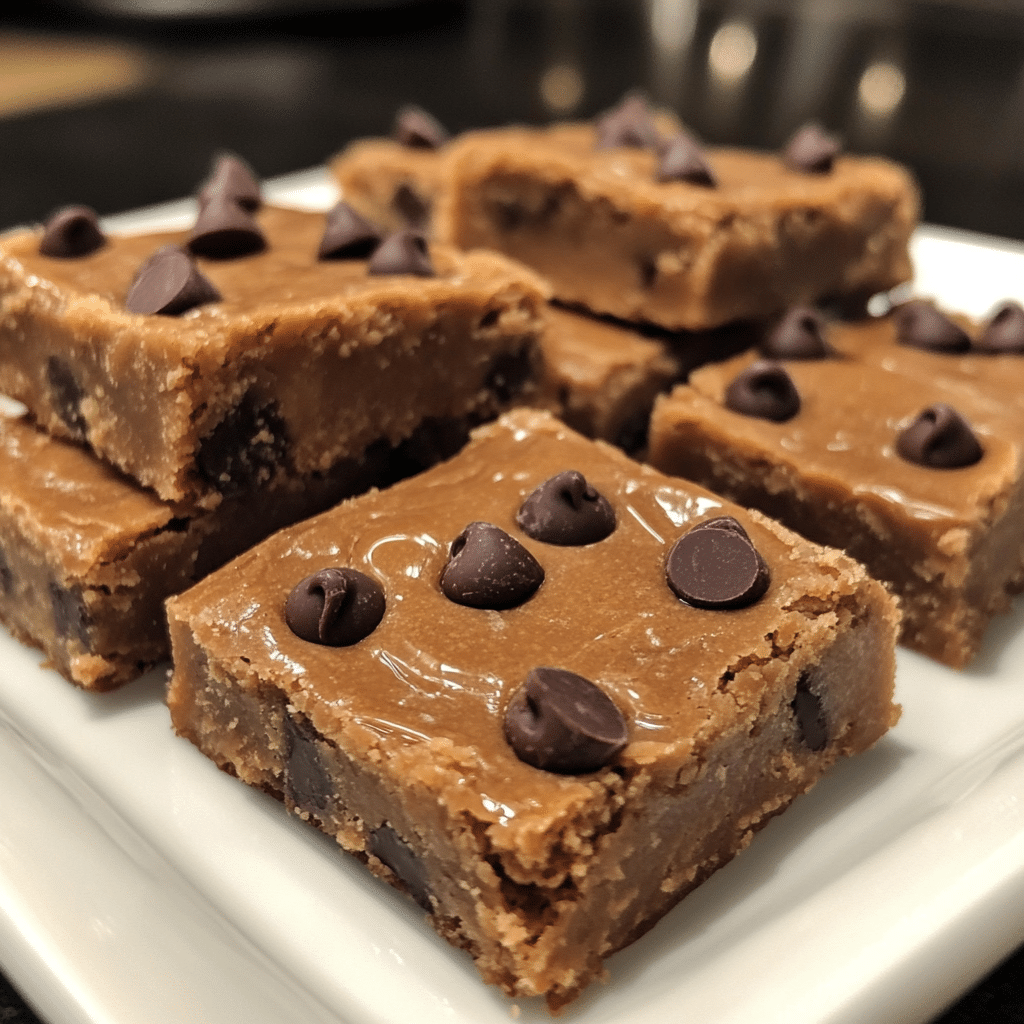
No-Bake Chocolate Chip Cookie Dough Bars
Ingredients
- 1 cup unsalted butter, softened
- 1 cup brown sugar, packed
- 1/2 cup granulated sugar
- 2 teaspoons vanilla extract
- 2 cups all-purpose flour (or gluten-free substitute)
- 1 cup chocolate chips (semi-sweet or milk chocolate)
- 1/4 teaspoon salt
Tip: Always use room temperature butter for a smooth and creamy texture. If you’re using a gluten-free flour, make sure to check that it’s suitable for baking to achieve the best results.
Step-by-Step Instructions
Step 1: Cream the Butter and Sugars
In a large mixing bowl, cream together the softened butter, brown sugar, and granulated sugar until light and fluffy. This usually takes about 3-5 minutes with a hand mixer. You’ll know it’s ready when it appears pale and airy—this is key for that melt-in-your-mouth texture.
Step 2: Add Vanilla and Mix
Stir in the vanilla extract. This simple addition elevates the flavor of your cookie dough bars. Mix until well combined and smooth.
Step 3: Incorporate the Dry Ingredients
Gradually add in the all-purpose flour and salt. Mix slowly at first to avoid a flour cloud, then increase the speed until everything is just incorporated. The dough should be thick but manageable.
Step 4: Fold in the Chocolate Chips
Using a spatula, gently fold in the chocolate chips. Make sure they’re evenly distributed throughout the dough. This step is crucial because every bite needs that chocolatey goodness!
Step 5: Press into the Pan
Line an 8×8 inch baking dish with parchment paper for easy removal. Transfer the dough into the dish and press it down firmly to create an even layer. Use the back of a spatula or your hands to smooth it out. The firmer you pack it, the better it will hold together once chilled.
Step 6: Chill and Set
Cover the dish with plastic wrap and place it in the refrigerator for at least 1 hour. This step is important for helping the bars set perfectly, making them easy to slice later.
Step 7: Slice and Serve
Once chilled, remove the bars from the dish using the parchment paper. Cut into squares or rectangles, and you’re ready to indulge! These bars are best served cold and will keep for several days in the fridge.
Nutr