Hey there, snack enthusiasts! I can’t tell you how many times I’ve made these Gluten Free Protein Balls — it’s become a staple in my kitchen! Every time I whip up a batch, the aroma wafts through my home, and I can already feel the excitement bubbling up. Seriously, these little bites of goodness are not just delicious but also fuel my day with a wholesome energy boost. Trust me, once you’ve tried them, you’ll be making them on repeat!
Why You’ll Love This Gluten Free Protein Balls
- Quick and Easy: You can whip up a batch in less than 20 minutes!
- Nutritious and Filling: Packed with protein and fiber to keep you satisfied.
- Customizable: You can easily mix and match ingredients to suit your taste.
- Perfect for On-the-Go: These bites are great for busy mornings or afternoon snacks.
- Kid-Friendly: A fun and healthy treat that kids will love to help make.
The Secret to Perfect Gluten Free Protein Balls
The beauty of these Gluten Free Protein Balls lies in their simplicity. The key ingredient? Oats! They not only provide a fantastic chewy texture but also serve as a binding agent. When I first made these, I was amazed at how easily everything came together. An insider tip? Let the mixture sit for a few minutes after mixing. This allows the oats to absorb some moisture and makes it easier to form into balls. I promise you, anyone can master this recipe—it’s a total game-changer!
Rave Reviews from Friends and Followers
“These gluten free protein balls are a lifesaver for my busy days! I can’t believe how much energy they give me!” – Sarah J.
“I made these for my kids, and they devoured them. Finally, a healthy snack they actually enjoy!” – Mike T.
“I love how versatile these are! I’ve tried so many variations, and they never disappoint!” – Emily R.
Creative Variations to Try
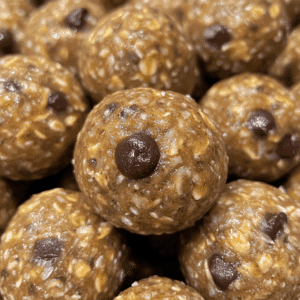
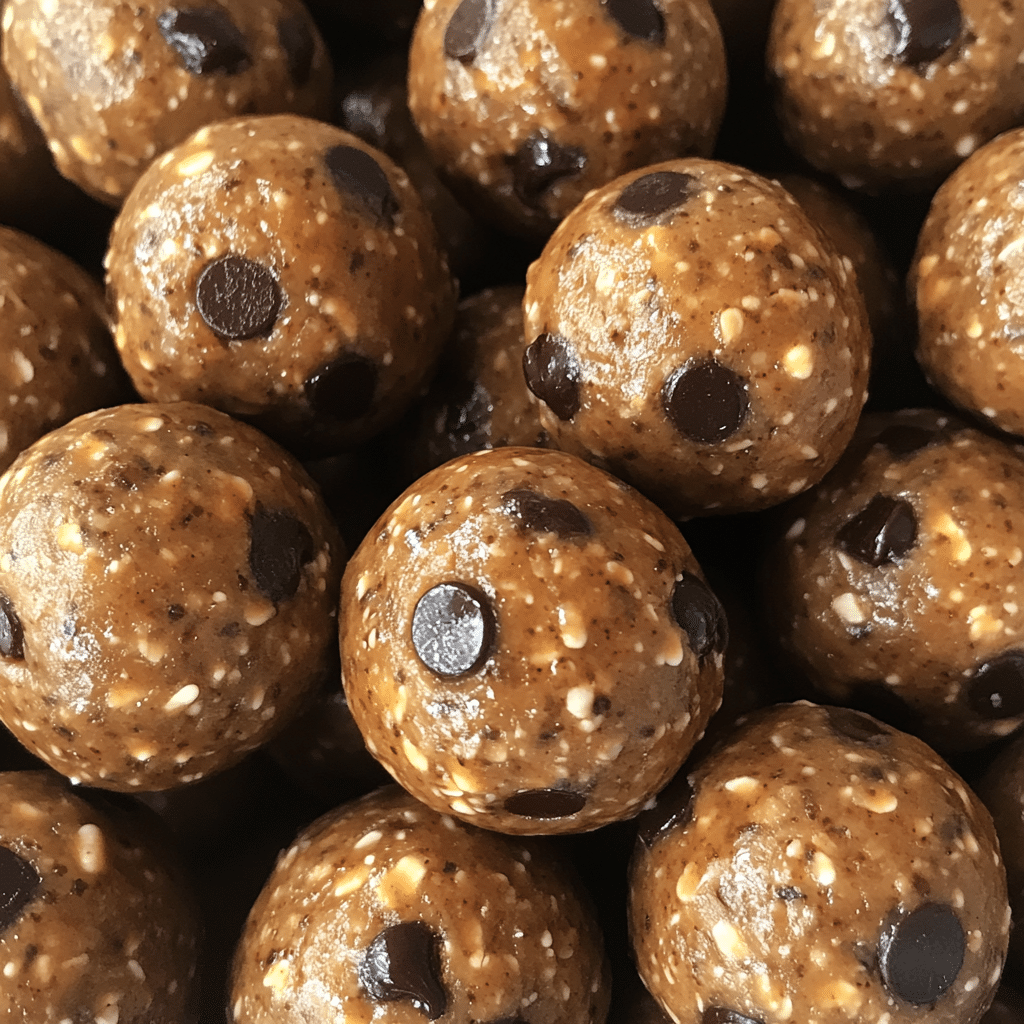
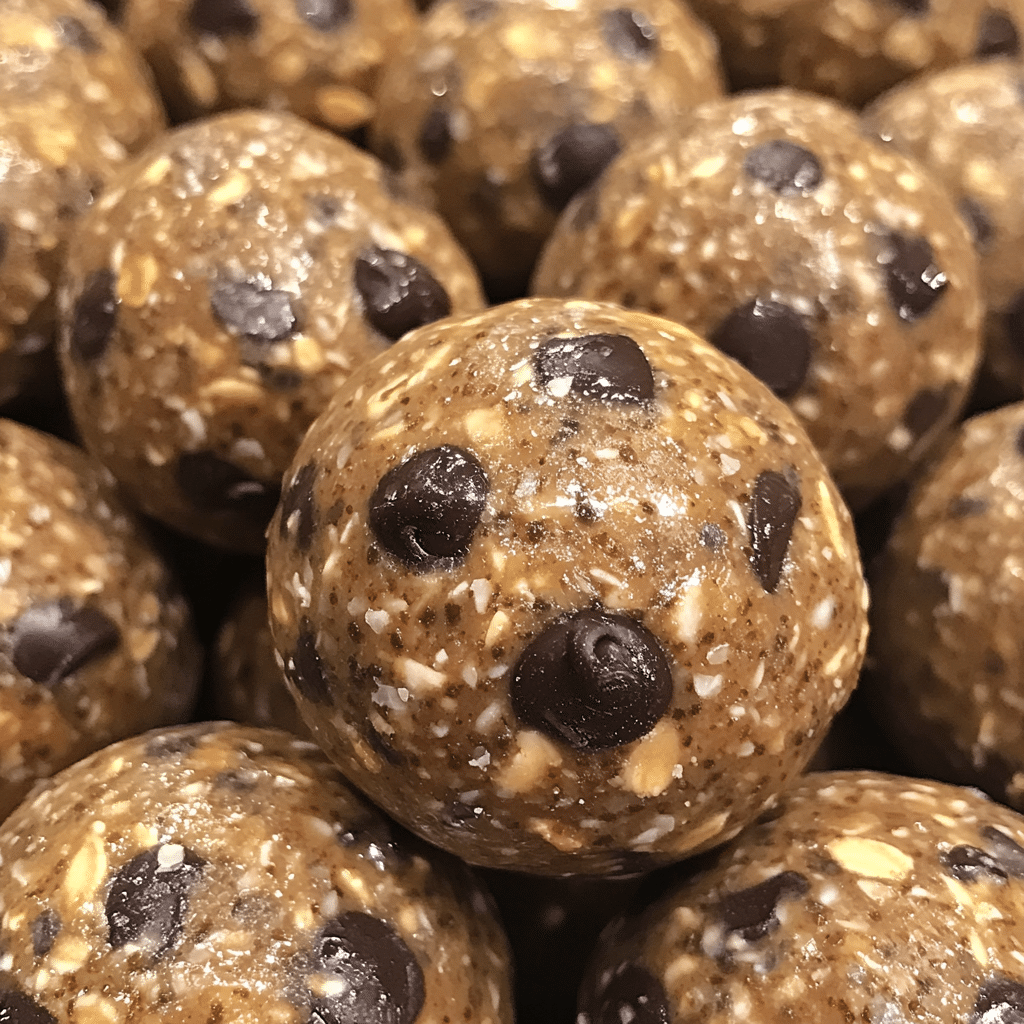
- Chocolate Chip Delight: Add in some dark chocolate chips for a sweet twist.
- Berry Blast: Mix in dried cranberries or blueberries for a fruity flavor.
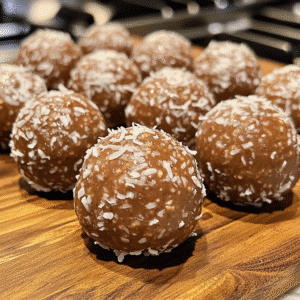
- Coconut Crunch: Toss in shredded coconut for a tropical vibe.
- Nutty Banana: Use mashed banana to add natural sweetness and moisture.
Bonus: Consider adding a scoop of your favorite protein powder to amp up the protein content even more!
FAQs – All Your Questions Answered!
Can I use regular oats instead of gluten-free oats?
While regular oats are often processed in facilities that handle gluten, you can use them if you’re not gluten-sensitive. Just make sure to check the packaging!
How do I store these protein balls?
Keep them in an airtight container in the fridge for up to two weeks. You can also freeze them for longer storage!
What can I substitute for nut butter?
If you have nut allergies, sunflower seed butter or tahini works great as a substitute!
Can I make these vegan?
Absolutely! Just ensure you use a vegan-friendly protein powder and maple syrup instead of honey.
Storage/Serving Tips
- Store in an airtight container in the fridge for up to two weeks.
- For longer shelf life, freeze them — they can last up to three months in the freezer.
- Serve them as a quick snack, post-workout fuel, or even as a healthy dessert option.
Perfect Occasions for Gluten Free Protein Balls
- Busy mornings when you need a quick breakfast.
- Post-workout recovery snack.
- Lunchbox treats for kids (or adults!).
- Afternoon pick-me-ups during work or study sessions.
- Healthy snacks for road trips or travel adventures.
The Complete Recipe
Now that you’re all pumped up, let’s dive into the delicious details of making these Gluten Free Protein Balls.
Gluten Free Protein Balls
Ingredients
- 1 cup gluten-free rolled oats
- 1/2 cup nut butter (peanut, almond, or sunflower seed)
- 1/4 cup honey or maple syrup
- 1/4 cup protein powder (optional)
- 1/4 cup dark chocolate chips or dried fruit (optional)
- 1 tsp vanilla extract
- Pinch of salt
Tip: For a nut-free version, use sunflower seed butter and check that your protein powder is also nut-free. Each ingredient plays a crucial role in the final texture and flavor, so don’t skip out on the nut butter — it adds creaminess and binds everything together!
Step-by-Step Instructions
Step 1: Mix Dry Ingredients
In a large bowl, combine the gluten-free rolled oats, protein powder (if using), and a pinch of salt. This is where the magic starts, so make sure everything is well combined!
Step 2: Add Wet Ingredients
Now, stir in the nut butter, honey (or maple syrup), and vanilla extract. Mix until everything is fully incorporated. You may need to get your hands in there — it can be a bit sticky but trust me, it’s worth it!
Step 3: Fold in Extras
If you’re adding chocolate chips or dried fruit, now’s the time! Gently fold them into the mixture until evenly distributed. The excitement builds here as you can already imagine how tasty these will be.
Step 4: Form the Balls
Using your hands, grab a small amount of the mixture and roll it into a ball about the size of a golf ball. Place it on a parchment-lined baking sheet. Continue until all the mixture is rolled out. You’ll feel like a pro by the end!
Step 5: Chill
Pop the baking sheet into the fridge for at least 30 minutes. This helps the balls firm up and hold their shape. You can also freeze them if you’re not eating them right away.
Nutrition Info:
Each ball (when made into 12 servings) contains approximately 100 calories, 5g protein, and 7g carbs. Not too shabby for a healthy snack!
Final Thoughts
There you have it — my all-time favorite Gluten Free Protein Balls recipe! It’s a delightful treat that satisfies cravings while keeping you healthy and energized. If you’re ready to make snacking a little more exciting and nutritious, give these a try! You won’t regret it, and I can’t wait to hear how much you love them!