Hey there, fellow breakfast lovers! I can’t wait to share one of my absolute favorite recipes with you: mini waffles! Trust me when I say, I’ve made these delightful little bites countless times, and every single occasion has been met with squeals of joy and plates wiped clean. Whether it’s a cozy family brunch or a fun weekend treat, these mini waffles are always a hit, and I just know you’re going to love them too!
Why You’ll Love This Mini Waffles Recipe
- Quick and Easy: You can whip these up in no time, making breakfast a breeze!
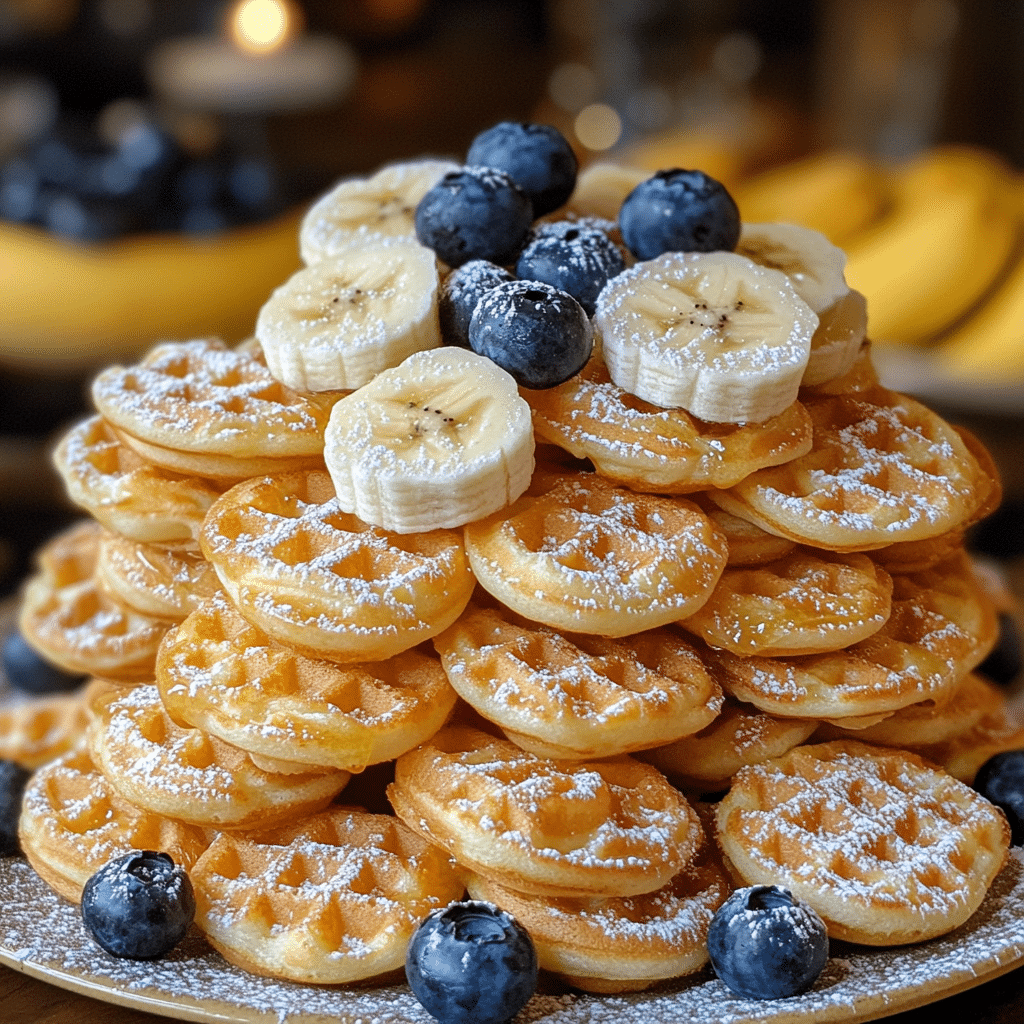
- Perfectly Portioned: Mini waffles are just the right size for little hands or a fun bite-sized treat for adults.
- Versatile: Customize with your favorite toppings or mix-ins to suit any taste!
- Visually Appealing: Their adorable size and golden color make them a feast for the eyes.
- Make-Ahead Convenience: You can prepare the batter in advance and even freeze them for later!
The Secret to Perfect Mini Waffles
The key to making these mini waffles a game-changer is in the batter consistency. You want it to be thick enough to hold its shape but still light enough to create that fluffy interior. I always use a combination of baking powder and buttermilk for that perfect rise and flavor. Trust me, let the batter rest for a few minutes before cooking; it really makes a difference! And don’t forget to preheat your waffle iron – a hot iron ensures that golden, crispy exterior we all love!
Rave Reviews from Friends and Followers
“These mini waffles are the highlight of our Sunday brunch! My kids can’t get enough of them!” – Sarah T.
“I made these for a gathering, and everyone kept asking for the recipe. So easy and delicious!” – Mike R.
Creative Variations to Try
- Chocolate Chip Mini Waffles: Add chocolate chips to the batter for a sweet twist.
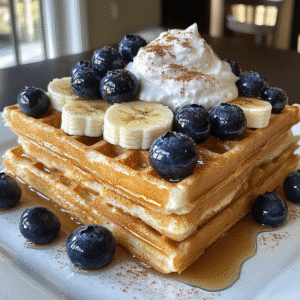
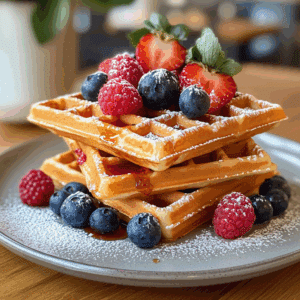
- Blueberry Bliss: Fold in fresh or frozen blueberries for a fruity delight.
- Cinnamon Roll Mini Waffles: Mix in cinnamon and a touch of vanilla for a warm, spicy flavor.
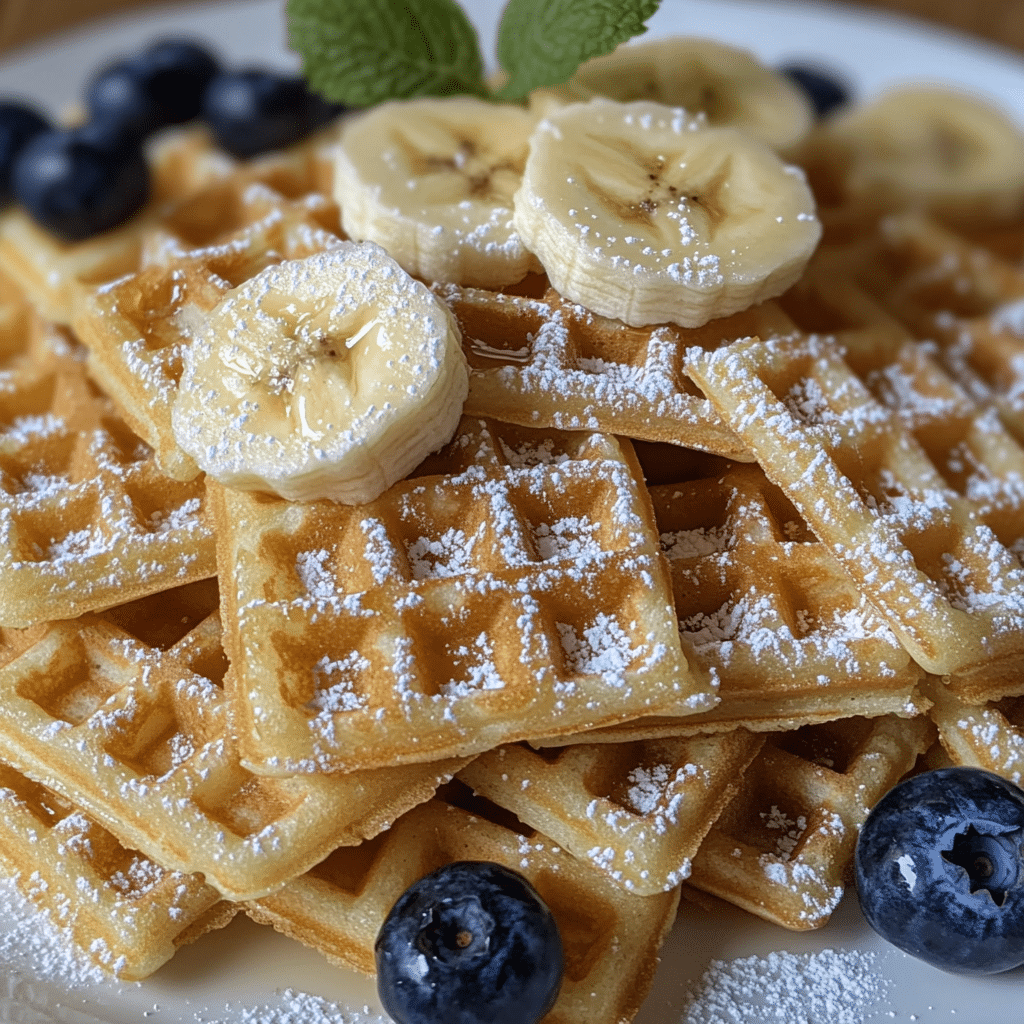
- Banana Nut Mini Waffles: Add mashed bananas and chopped walnuts for extra texture.
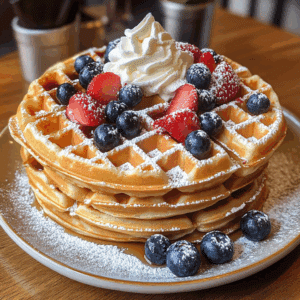
Bonus: Try sprinkling a little powdered sugar on top for a beautiful presentation!
FAQs – All Your Questions Answered!
Can I make the batter ahead of time? Yes! You can store the batter in the refrigerator for up to 24 hours. Just give it a good stir before using it.
How do I store leftover mini waffles? Let them cool completely, then store in an airtight container in the fridge for up to 3 days, or freeze for up to a month.
What can I substitute for buttermilk? If you don’t have buttermilk, you can use regular milk mixed with a tablespoon of vinegar or lemon juice. Let it sit for a few minutes before using.
Why are my waffles sticking to the iron? Make sure to preheat your waffle iron and use a non-stick spray or brush with oil before pouring in the batter.
Storage/Serving Tips
- Cool completely before storing to prevent sogginess.
- Reheat in the toaster or oven for a crispy texture.
- Serve with a variety of toppings like syrup, whipped cream, or fresh fruit.
Perfect Occasions for Mini Waffles
- Weekend brunch with family and friends
- Birthday parties for kids
- Holiday gatherings
- Bridal showers or baby showers
- Lazy Sunday mornings
- Picnics in the park
The Complete Recipe
Thank you for sticking with me! Now, let’s dive into how to make these scrumptious mini waffles!
Mini Waffles
Ingredients
- 1 cup all-purpose flour
- 2 tablespoons sugar
- 1 teaspoon baking powder
- 1/2 teaspoon baking soda
- 1/4 teaspoon salt
- 1 cup buttermilk
- 1 large egg
- 2 tablespoons melted butter
- 1 teaspoon vanilla extract
Tip: Feel free to add a pinch of cinnamon for extra flavor or use whole wheat flour for a healthier option. Each ingredient plays a role in achieving that fluffy texture and delightful taste!
Step-by-Step Instructions
Step 1: Gather Your Ingredients
Start by measuring out all your ingredients. Having everything ready makes the process smooth and enjoyable. Trust me, it’s all about the prep!
Step 2: Mix the Dry Ingredients
In a large bowl, whisk together the flour, sugar, baking powder, baking soda, and salt. This step is crucial for ensuring an even rise. The smell of the baking powder will get you excited for what’s to come!
Step 3: Combine the Wet Ingredients
In another bowl, mix the buttermilk, egg, melted butter, and vanilla extract. Whisk them until well combined. This is where the magic begins as flavors meld together beautifully!
Step 4: Combine Wet and Dry Mixtures
Pour the wet ingredients into the dry mix. Stir until just combined; a few lumps are okay. Overmixing can lead to tough waffles, and we want those fluffy bites!
Step 5: Preheat and Grease the Waffle Iron
Preheat your waffle iron according to the manufacturer’s instructions. Spray with non-stick cooking spray or brush with melted butter for easy release. A hot iron means crispy outsides and fluffy insides!
Step 6: Pour and Cook
Pour a small amount of batter onto the center of the preheated waffle iron. Close the lid and cook according to your waffle maker’s instructions, usually about 3-5 minutes. The anticipation is real – you’ll hear that delightful sizzle!
Step 7: Enjoy!
Remove the mini waffles and repeat with the remaining batter. Serve warm with your favorite toppings like syrup, fresh fruit, or whipped cream. You’re gonna love it!
Nutrition info (per serving): Calories: 180, Fat: 7g, Carbs: 25g, Protein: 4g.
Final Thoughts
There you have it! A delightful recipe for mini waffles that will surely become a staple in your home. With their adorable size and endless topping possibilities, these mini waffles are not just breakfast; they’re a celebration! I’m so excited for you to try them, and I can’t wait to hear how they turn out. Happy cooking!