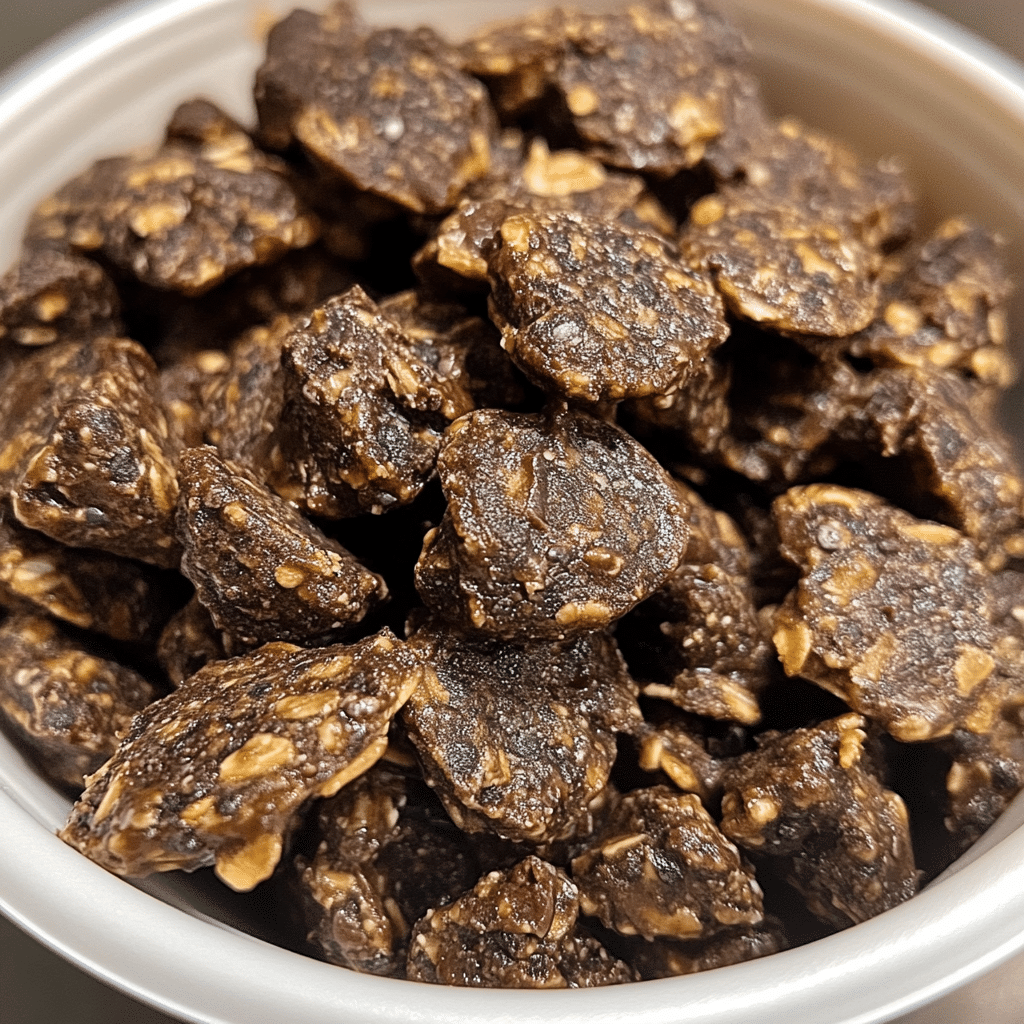
Let me tell you about my latest obsession: No-Bake Chocolate Chia Oat Clusters. I whipped up a batch last weekend, and they disappeared faster than I could say “healthy snack”! Seriously, I’ve made this recipe at least a dozen times, and it’s become a staple in my kitchen. These little bites of joy are perfect for any occasion, and trust me, once you try them, you’ll be making them on repeat!
Why You’ll Love This No-Bake Chocolate Chia Oat Clusters
- Quick and Easy: No baking required, and they come together in just a few minutes!
- Nutritious: Packed with fiber and healthy fats, they’re a guilt-free treat!
- Versatile: You can customize them with your favorite nuts, seeds, or dried fruits.
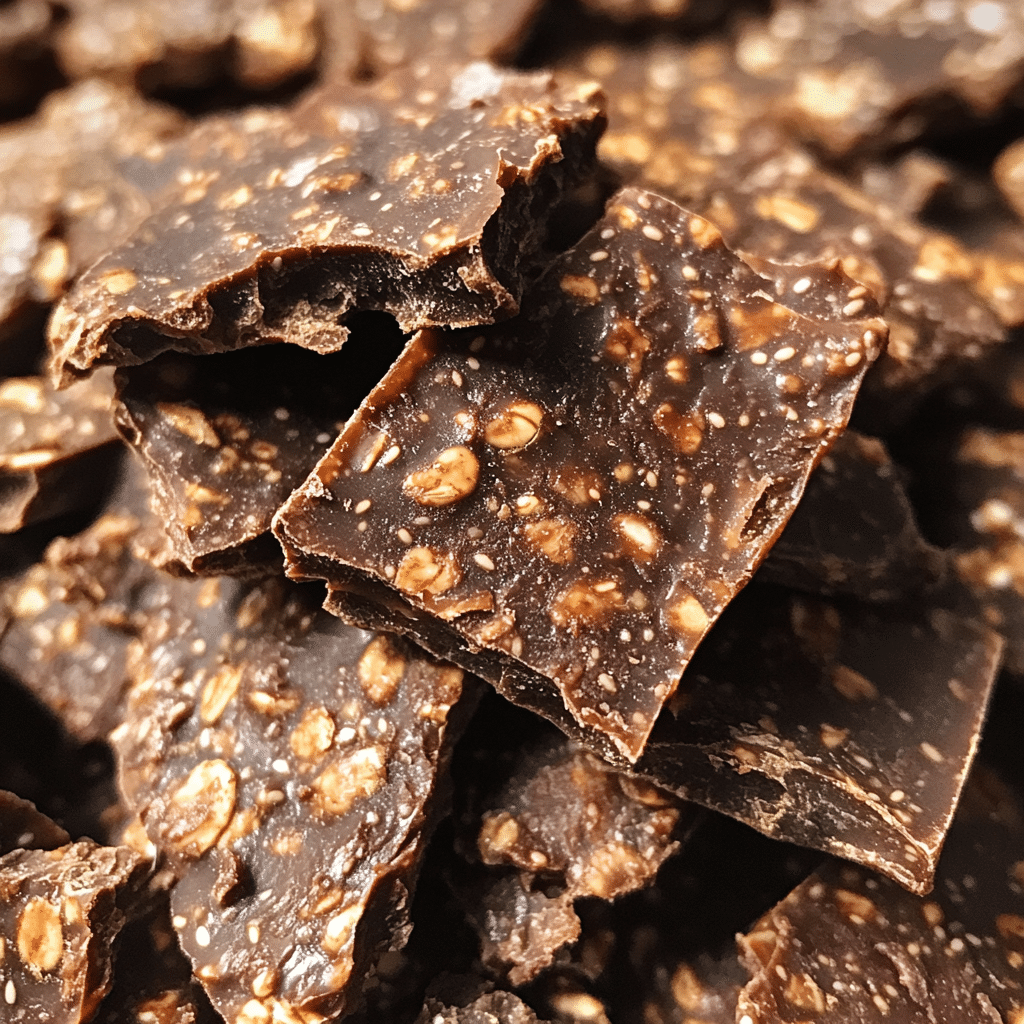
- Visually Appealing: These clusters look as good as they taste, making them perfect for sharing.
- Make-Ahead Convenience: They store well in the fridge, so you always have a tasty snack on hand.
The Secret to Perfect No-Bake Chocolate Chia Oat Clusters
The magic ingredient here is chia seeds. When combined with liquids, they swell and create a gel-like substance that helps bind everything together. This not only adds a wonderful texture but also makes these clusters incredibly nutritious. My insider tip? Let the mixture sit for a few minutes before forming the clusters. This gives the chia seeds time to absorb the moisture and ensures your clusters hold together beautifully. Trust me, anyone can master this recipe!
Rave Reviews from Friends and Followers
“These clusters are a game-changer! I can’t believe how easy they are to make and how delicious they taste!” — Sarah J.
“I brought these to a potluck, and they were the first thing to disappear! Everyone wanted the recipe!” — Mark T.
“As someone who usually skips dessert, I can’t get enough of these! They satisfy my sweet tooth without the guilt!” — Lisa M.
Creative Variations to Try
- Peanut Butter Chocolate Chia Oat Clusters: Stir in 1/4 cup of natural peanut butter for a nutty twist.
- Coconut Chocolate Chia Oat Clusters: Add shredded coconut for a tropical flavor.
- Berry Blast Chia Oat Clusters: Mix in dried cranberries or blueberries for a fruity punch.
- Spiced Pumpkin Chia Oat Clusters: Incorporate pumpkin puree and pumpkin spice for a fall-inspired treat.
- Bonus: Drizzle melted dark chocolate on top before they set for an extra indulgent touch!
FAQs – All Your Questions Answered!
Can I substitute the oats? Yes! You can use quick oats or gluten-free oats if needed.
How long do these last in the fridge? They stay fresh for about a week in an airtight container.
Can I freeze them? Absolutely! Just make sure to separate the clusters with parchment paper to prevent sticking.
What if my mixture is too dry? Add a splash of water or a bit more nut butter to achieve the right consistency.
Can I use maple syrup instead of honey? Yes! Maple syrup works wonderfully as a vegan alternative.
Storage/Serving Tips
- Store clusters in an airtight container in the fridge for up to one week.
- For longer storage, freeze in a single layer and then transfer to a freezer-friendly bag.
- Serve them as a snack, breakfast on-the-go, or even as a topping for yogurt or smoothie bowls.
Perfect Occasions for No-Bake Chocolate Chia Oat Clusters
- After-school snacks for the kids.
- Quick energy boost before or after workouts.
- Healthy treats for birthday parties.
- Fun additions to lunchboxes.
- Comfort food for movie nights at home.
- Perfect for picnics or outdoor gatherings.
The Complete Recipe
Thank you for sticking around! Now let’s dive into making these delightful No-Bake Chocolate Chia Oat Clusters together.
No-Bake Chocolate Chia Oat Clusters
Ingredients
- 1 cup rolled oats
- 1/4 cup chia seeds
- 1/2 cup natural nut butter (peanut, almond, or cashew)
- 1/3 cup honey or maple syrup
- 1/4 cup unsweetened cocoa powder
- 1/2 teaspoon vanilla extract
- Pinch of salt
Tip: You can also add in 1/4 cup of mini chocolate chips for extra sweetness and a melty surprise in every bite!
Step-by-Step Instructions
Step 1: Gather Your Ingredients
Start by measuring out all your ingredients. Having everything ready to go makes the process super smooth. Plus, it’s a great way to ensure you don’t forget anything!
Step 2: Mix Dry Ingredients
In a large bowl, combine the rolled oats, chia seeds, cocoa powder, and salt. Mix them well to ensure even distribution. This step is crucial as it enhances the overall flavor of your clusters!
Step 3: Combine Wet Ingredients
In a separate bowl, whisk together the nut butter, honey (or maple syrup), and vanilla extract until smooth. This is where the clusters start to come together, so make sure it’s well-blended!
Step 4: Blend Wet and Dry
Pour the wet mixture into the dry ingredients and stir until fully combined. It should have a sticky consistency, which means it’s perfect for forming clusters. If it seems too dry, you can add a little water to help it bind.
Step 5: Form Clusters
Using your hands or a spoon, form small clusters (about 1-2 tablespoons each) and place them on a parchment-lined baking sheet. This is the fun part! Get creative, and don’t worry about making them perfect – they’ll taste amazing no matter what!
Step 6: Chill and Set
Refrigerate the clusters for at least 30 minutes to allow them to firm up. This step is essential for getting that perfect chewy yet crunchy texture!
Step 7: Enjoy!
Once they are set, they are ready to enjoy. You can keep them in the fridge or store them in the freezer for later. And trust me, you’ll be coming back for more!
Nutritional Info: Each cluster is packed with fiber, protein, and healthy fats, making them an excellent choice for a nutritious snack.
Final Thoughts
I’m telling you, these No-Bake Chocolate Chia Oat Clusters are a total game-changer for snacking. They’re delicious, easy to make, and perfect for any time of day. I can’t wait for you to try them! Whether you’re looking for a quick snack or a healthy treat to share with friends, these clusters will not disappoint. So grab your ingredients and let’s get cooking!