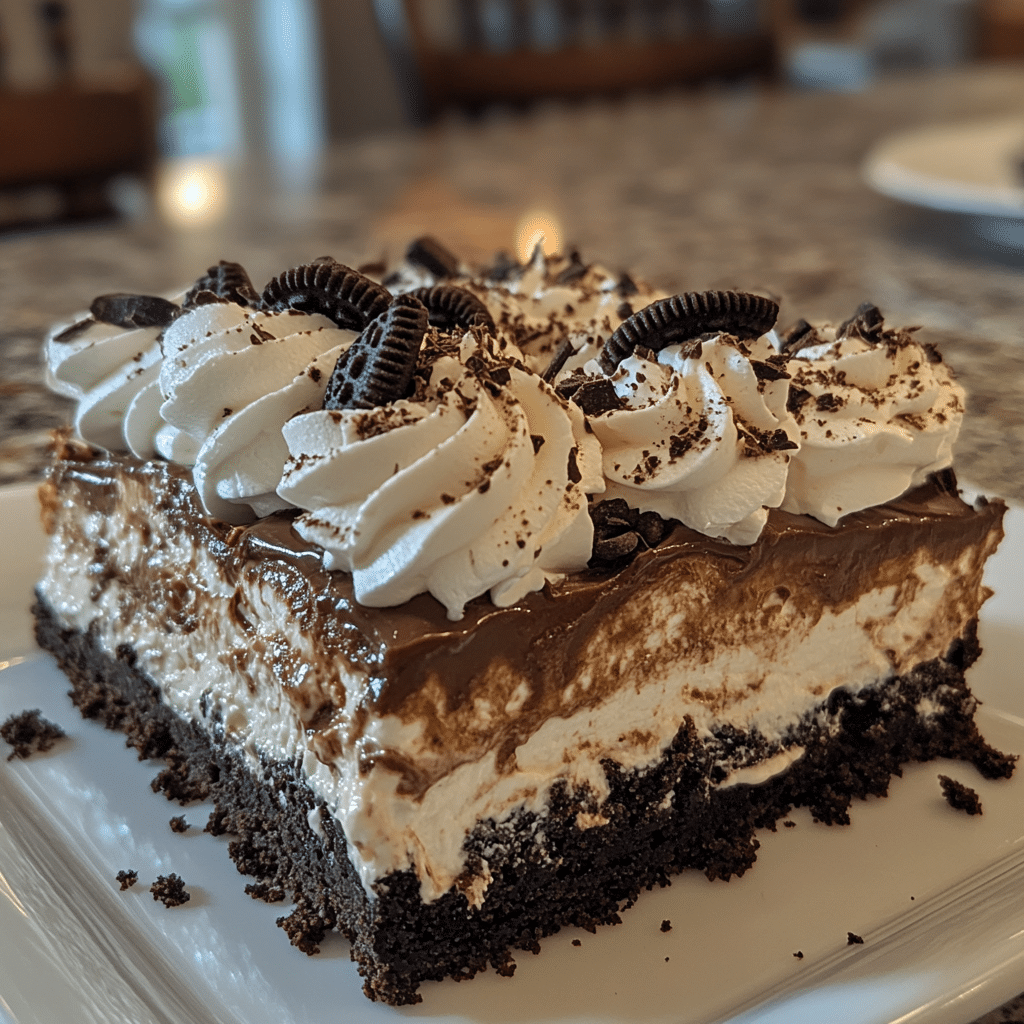
Let me tell you about one of my absolute favorite desserts that has become a staple in my kitchen: the No Bake Heavenly Oreo Dessert. I can’t even count how many times I’ve made this delightful treat! Every time I whip it up, it’s like a little slice of heaven on a plate. Trust me, it’s a total game-changer for any Oreo lover. The creamy layers, rich chocolate, and crunchy cookies come together to create a dessert that’s not just delicious but also ridiculously easy to make. Whether it’s a family gathering, a potluck, or just a cozy night in, this dessert has always been a crowd-pleaser!
Why You’ll Love This No Bake Heavenly Oreo Dessert
- Super Easy to Make: No baking required means anyone can do it!
- Delicious Layers: The combination of cream, chocolate, and Oreos is simply irresistible.
- Perfect for Any Occasion: Whether it’s a birthday, picnic, or just a Tuesday, it fits right in.
- Make-Ahead Convenience: Prepare it the night before and let it chill in the fridge.
- Visually Stunning: The layered look makes it impressive for guests.
The Secret to Perfect No Bake Heavenly Oreo Dessert
The secret to this dessert’s perfection lies in the creamy filling. Using a combination of cream cheese and whipped topping not only gives it a velvety texture but also balances the sweetness of the Oreos. Here’s my insider tip: make sure your cream cheese is at room temperature before mixing. This helps achieve that smooth consistency without lumps. Trust me, once you master this technique, you’ll feel like a dessert pro!
Rave Reviews from Friends and Followers
“This No Bake Heavenly Oreo Dessert is a showstopper! Everyone at my party wanted the recipe. It’s rich, creamy, and just the right amount of sweet!” – Sarah L.
“I made this for my kids, and they devoured it in minutes. It’s officially their favorite dessert!” – Mike T.
“I was amazed at how easy it was to make. I’m definitely adding this to my go-to dessert list!” – Angela R.
Creative Variations to Try
- Peanut Butter Delight: Add peanut butter to the cream cheese mixture for a nutty twist.
- Mint Oreo Magic: Swap regular Oreos for Mint Oreos for a refreshing flavor.
- Chocolate Chip Cookie Crunch: Layer crushed chocolate chip cookies with the Oreos for added texture.
- Caramel Drizzle: Drizzle caramel sauce on top for an extra decadent touch.
Bonus: Try adding a layer of your favorite fruit, like raspberries or strawberries, for a burst of freshness!
FAQs – All Your Questions Answered!
Can I use low-fat cream cheese? Absolutely! Low-fat cream cheese works just as well for a lighter version.
How long will this dessert last in the fridge? It will stay fresh for about 3-4 days if stored properly.
Can I freeze this dessert? Yes, but keep in mind that the texture may change slightly after thawing.
What can I substitute for whipped topping? You can use homemade whipped cream, but make sure it’s stabilized for the best results.
Storage/Serving Tips
- Store leftovers in an airtight container in the fridge.
- For best taste, serve within 2-3 days.
- Consider garnishing with extra Oreo crumbles or whipped cream before serving.
Perfect Occasions for No Bake Heavenly Oreo Dessert
- Birthday parties
- Family gatherings
- Potlucks
- Summer barbecues
- Holiday celebrations
- Movie nights
The Complete Recipe
Thank you for sticking with me so far! Now, let’s dive into how to make this No Bake Heavenly Oreo Dessert step by step.
No Bake Heavenly Oreo Dessert
Ingredients
- 1 package of Oreos (about 15-20 cookies)
- 8 oz cream cheese, softened
- 1/2 cup granulated sugar
- 1 cup whipped topping (like Cool Whip)
- 1/4 cup milk
- 1/2 cup semi-sweet chocolate chips (optional for extra richness)
Tip: Make sure to crush the Oreos finely for the best texture in your dessert. You can pulse them in a food processor or place them in a zip-top bag and crush with a rolling pin.
Step-by-Step Instructions
Step 1: Crush the Oreos
Start by crushing your Oreos until they resemble fine crumbs. This will be the base of your dessert, so make sure they are well-crushed for a great texture. You can do this in a food processor or simply place them in a zip-top bag and smash away with a rolling pin. It’s a great stress reliever too!
Step 2: Prepare the Cream Mixture
In a large mixing bowl, combine the softened cream cheese and sugar. Beat them together until smooth and creamy, about 2-3 minutes. Make sure there are no lumps, as this will ensure a silky texture for your dessert. Then, gently fold in the whipped topping until fully incorporated.
Step 3: Layer the Ingredients
In a 9×9 inch baking dish (or similar pan), start with a layer of the crushed Oreos at the bottom. Follow this with a layer of the cream mixture. Repeat the layers until you run out of ingredients, finishing with a layer of cream on top. It’s okay to be generous with the layers; it adds to the wow factor!
Step 4: Chill and Serve
Cover the dish with plastic wrap and place it in the refrigerator for at least 4 hours, or overnight if you can wait! This chilling time is crucial as it allows the flavors to meld together and firms up the dessert. When you’re ready to serve, you can garnish with more crushed Oreos or chocolate chips for an extra touch.
Nutrition Info: Each serving is approximately 250 calories, depending on the serving size and added ingredients. Enjoying every bite of this rich dessert is totally worth it!
Final Thoughts
I can’t express enough how much I love this No Bake Heavenly Oreo Dessert. It’s not just a recipe; it’s an experience! From the first creamy bite to the last crumb, it’s like a little moment of joy. I encourage you to give it a try, and I promise you won’t be disappointed. Go ahead, indulge yourself and your loved ones with this heavenly treat — you’ll be the hit of any gathering!