Let me tell you about my absolute favorite dessert: No-Bake Monster Cookie Bars! Every time I whip up a batch, it’s like magic in my kitchen. I can’t even count how many times I’ve made these delightful treats — they’re just that good! Friends and family can’t get enough of them, and I often find myself doubling the recipe because they disappear so quickly. Trust me, once you make these, you’ll be hooked too!
Why You’ll Love This No-Bake Monster Cookie Bars
- Effortless Preparation: No baking means no oven, no mess, and no stress!
- Kid-Friendly Fun: Perfect for involving kids in the kitchen. They can help mix and decorate!
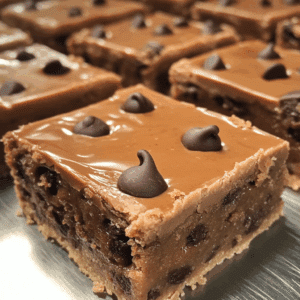
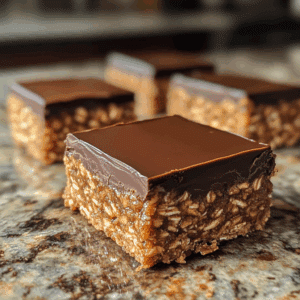
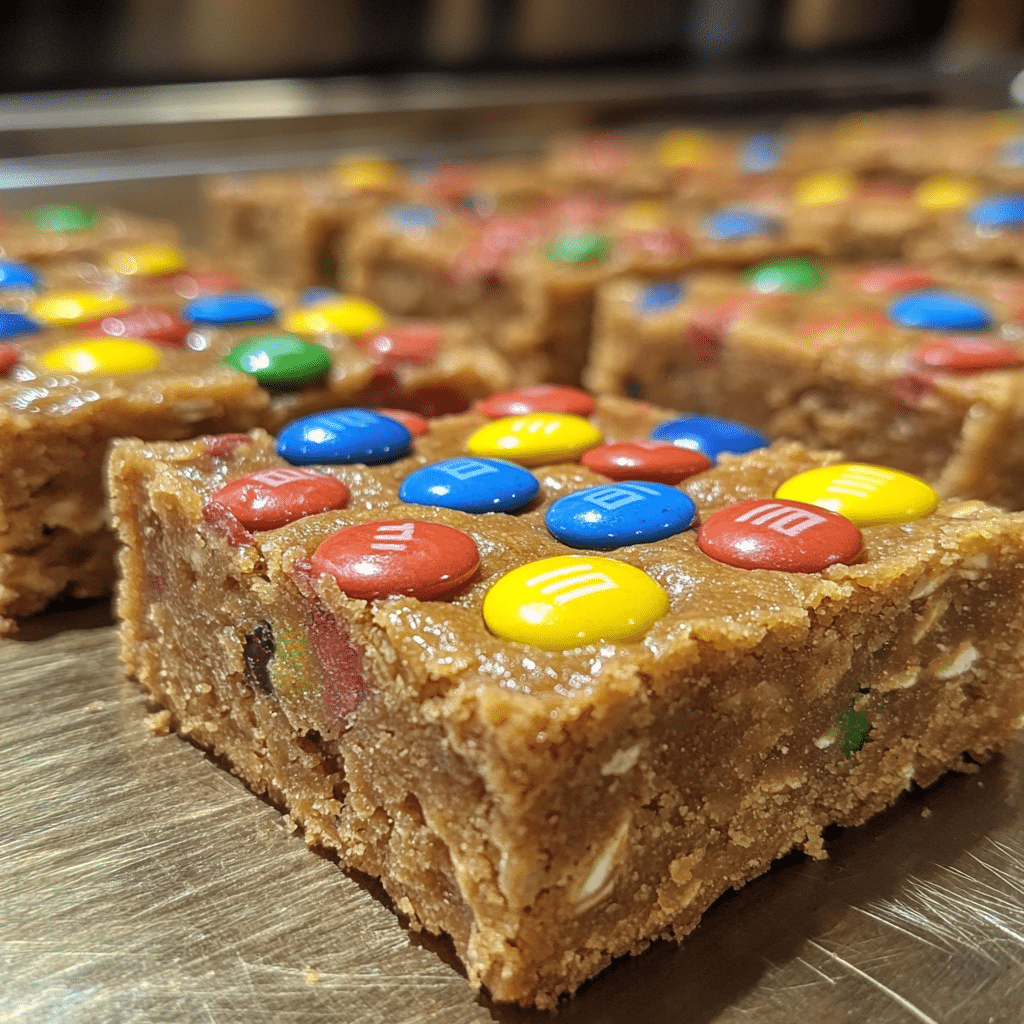
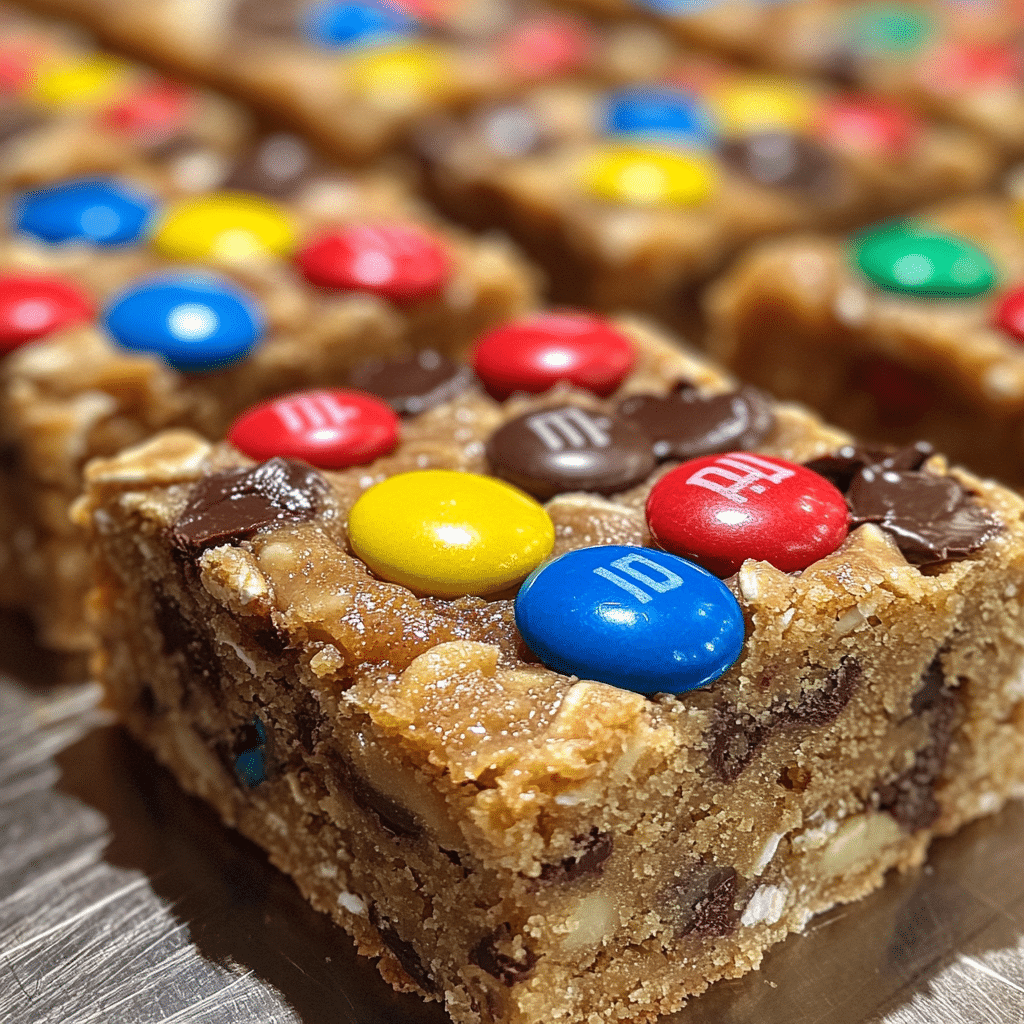
- Visually Stunning: These bars are a feast for the eyes with their colorful M&M’s and chocolate chips.
- Versatile Treat: You can customize them with your favorite mix-ins for endless flavor combinations.
- Make-Ahead Convenience: Prepare them in advance for parties, snacks, or lunchboxes.
The Secret to Perfect No-Bake Monster Cookie Bars
The secret to achieving the perfect No-Bake Monster Cookie Bars lies in the balance of ingredients! I found that using creamy peanut butter provides a rich flavor and smooth texture that holds everything together beautifully. When I first made them, I was worried about the consistency, but trust me, it’s all about the ratio of oats to peanut butter. A tip? Don’t rush the mixing process! Take your time to ensure everything is combined well, and you’ll be amazed at how they come together.
Rave Reviews from Friends and Followers
“These No-Bake Monster Cookie Bars are my new go-to dessert! I made them for a potluck, and everyone was raving about them!” — Sarah M.
“My kids went wild for these bars! They’re so easy to make, and I love that they can help in the kitchen.” — Lisa T.
“I was blown away by how delicious these bars are! They’re my favorite sweet treat now.” — Mark D.
Creative Variations to Try
- Nutty Delight: Add chopped nuts like almonds or walnuts for a crunchy texture.
- Cookie Dough Bliss: Swap in cookie dough bites instead of M&M’s for a fun twist.
- Dark Chocolate Dream: Use dark chocolate chips for a richer flavor.
- Granola Goodness: Mix in your favorite granola for added crunch and a health boost.
Bonus: Try using white chocolate chips instead of milk chocolate for a colorful and creamy variation!
FAQs – All Your Questions Answered!
Can I store No-Bake Monster Cookie Bars? Absolutely! Store them in an airtight container in the refrigerator for up to a week.
Can I substitute ingredients? Yes! You can use almond butter or sunflower seed butter for a nut-free version. Just remember that different nut butters may alter the texture slightly.
What if my bars don’t set properly? If they seem too gooey, try refrigerating them longer or adding a bit more oats to absorb moisture.
Can I freeze these bars? Yes, these bars freeze wonderfully! Wrap them tightly in plastic wrap and place them in an airtight container for up to three months.
Storage/Serving Tips
- Store in an airtight container to keep them fresh.
- Refrigerate for a firmer texture, especially if you prefer a chilled treat.
- For serving, cut them into fun shapes using cookie cutters for a festive touch.
Perfect Occasions for No-Bake Monster Cookie Bars
- Birthday parties — everyone loves a sweet treat!
- Picnics — they’re easy to transport and share.
- School bake sales — a guaranteed hit!
- Movie nights — perfect for snacking while watching your favorite films.
- Holiday gatherings — add festive M&M’s for seasonal flair!
The Complete Recipe
Alright, let’s get to the good stuff! I’m so excited to share the recipe with you. Get ready to indulge in these No-Bake Monster Cookie Bars!
No-Bake Monster Cookie Bars
Ingredients
- 2 cups rolled oats
- 1 cup creamy peanut butter
- 1/2 cup honey or maple syrup
- 1/2 cup chocolate chips
- 1/2 cup M&M’s (or your favorite candy)
- 1 tsp vanilla extract
Tip: Make sure to use natural peanut butter for the best texture. Also, feel free to mix in other candies or dried fruits to suit your taste!
Step-by-Step Instructions
Step 1: Gather Your Ingredients
Before you start, gather all your ingredients. This makes the process so much smoother! Measure everything out and have it ready to go. The anticipation is half the fun!
Step 2: Mix Dry Ingredients
In a large bowl, combine the rolled oats and chocolate chips. This is where you’ll get that delicious texture. Stir them together until they’re evenly mixed. The oats are the base of our bars, so this step is crucial!
Step 3: Combine Wet Ingredients
In a separate bowl, mix the peanut butter, honey (or maple syrup), and vanilla extract. Stir until it’s smooth and creamy. You want it to be well combined so every bite is bursting with flavor!
Step 4: Combine Wet and Dry Mixtures
Now, pour the wet mixture into the bowl with the dry ingredients. Mix it all together until it’s fully combined. This is where the magic happens! Make sure to get every oat coated. You’ll know it’s ready when everything is sticking together nicely.
Step 5: Add M&M’s
Gently fold in the M&M’s. This is the fun part! You’ll love seeing the vibrant colors throughout the mixture. It makes these bars not just delicious but also visually appealing!
Step 6: Press into a Pan
Line an 8×8 inch baking pan with parchment paper. Then, transfer the mixture into the pan and press it down firmly. The firmer you pack it, the better your bars will hold together when cut. If you’re feeling fancy, you can even sprinkle a few extra M&M’s on top for decoration!
Step 7: Chill and Set
Cover the pan with plastic wrap and refrigerate for at least 2 hours. This step is essential to help the bars set. You can even leave them overnight if you want to prepare them ahead of time. The longer they chill, the firmer they become!
Step 8: Cut and Serve
Once set, remove the bars from the pan using the parchment paper and cut them into squares or rectangles. Serve them up at your next gathering, or keep them all to yourself — I won’t judge!
Nutrition info (per serving): Approximately 200 calories, 9g protein, 15g fat, 20g carbs.
Remember, these bars are as flexible as your creativity! Feel free to experiment with different mix-ins and flavors. The more you make them, the more you’ll find your perfect combination!
Final Thoughts
These No-Bake Monster Cookie Bars are truly a game-changer in the dessert world. I can’t stress enough how easy and delightful they are! Whether you’re making them for a party or just treating yourself, they will not disappoint. I encourage you to give this recipe a try — you’ll be amazed at the deliciousness you can create with just a few simple ingredients. Happy baking (or no-baking)!